What should you add first to create the AI model cut you want?
SNAP|Updated Sep 4, 2026
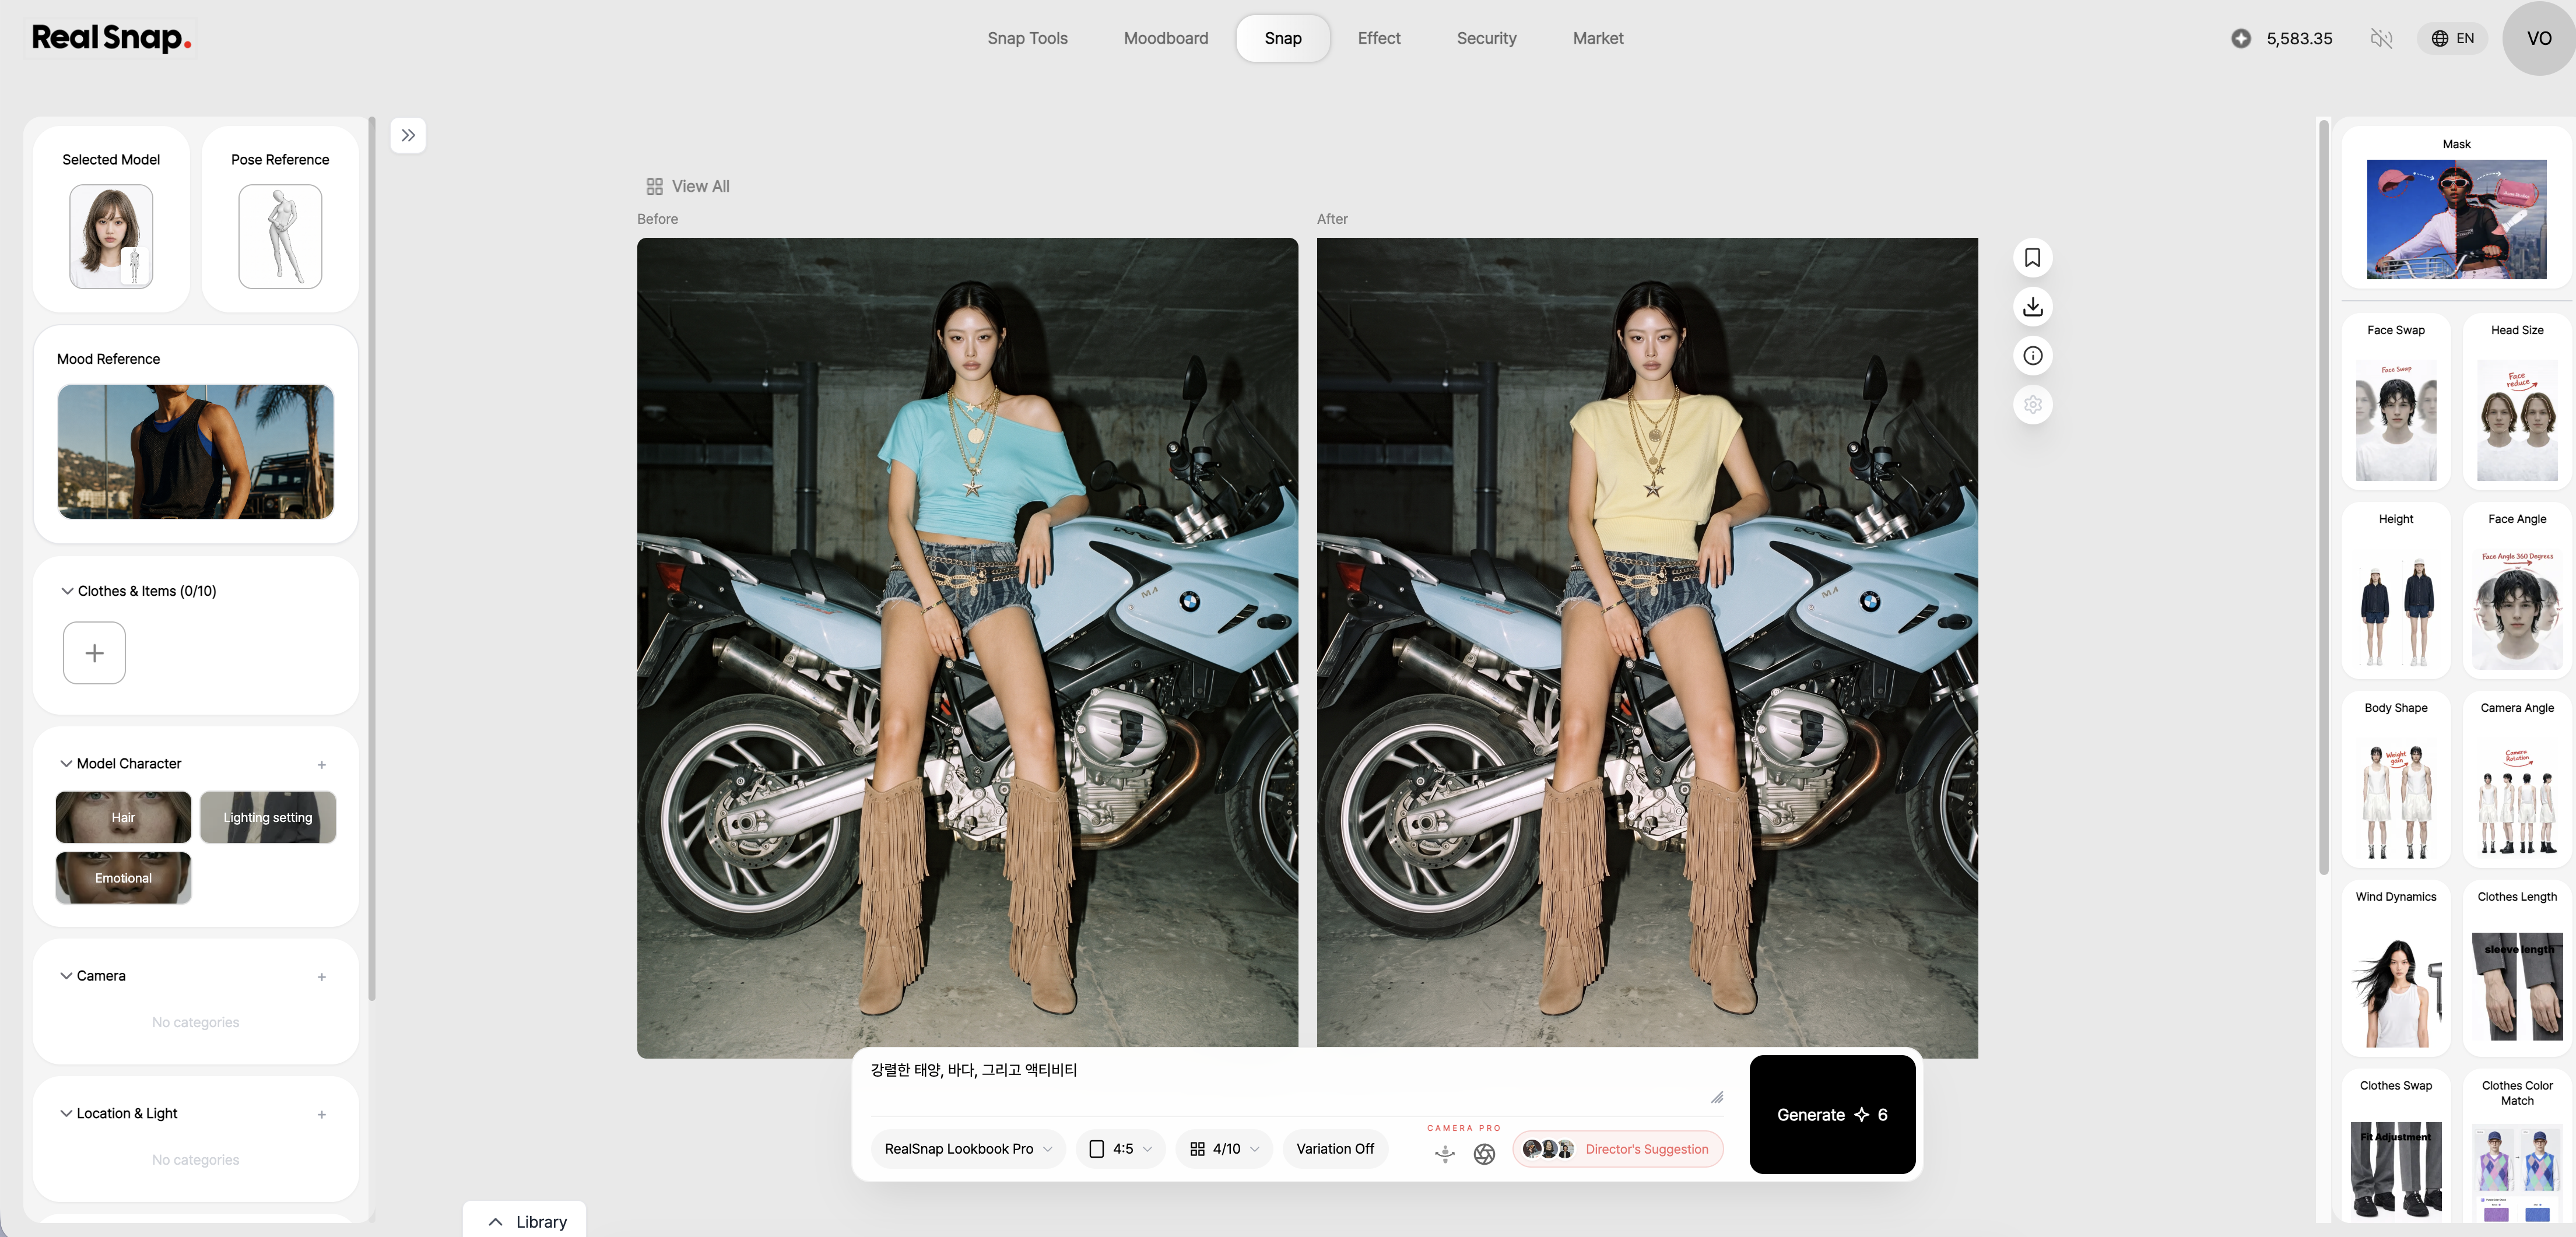
RealSnap Snap workspacelets you create the AI model cut you want by setting the model, pose, mood reference, items, and model character.
Instead of generating an image vaguely from scratch, you can add the necessary references and apply detailed tools to create more specific images for lookbooks, product detail pages, and social media.
To create the model cut you want, you need reference images and settings.
When creating an AI model cut, simply entering “make it pretty” may produce results that differ from what you want.
That’s because many factors affect the final image, such as the model’s mood, pose, worn items, hair, emotion, and face direction.
In the Snap workspace, you can set these elements one by one.
Using the selected model, pose reference, mood image, items, and model character as a basis, you can create an AI model cut that is closer to the direction you want.
1. Choose a Face and Pose.
Start by setting Selected Model and Pose Reference in the Snap workspace.
The Face guides the facial impression and identity consistency, while the pose reference guides posture and composition.
Hover over a model card and open the ⋯ menu in the upper-right to create or review its Face Datasheet. It helps keep the same person consistent across results.
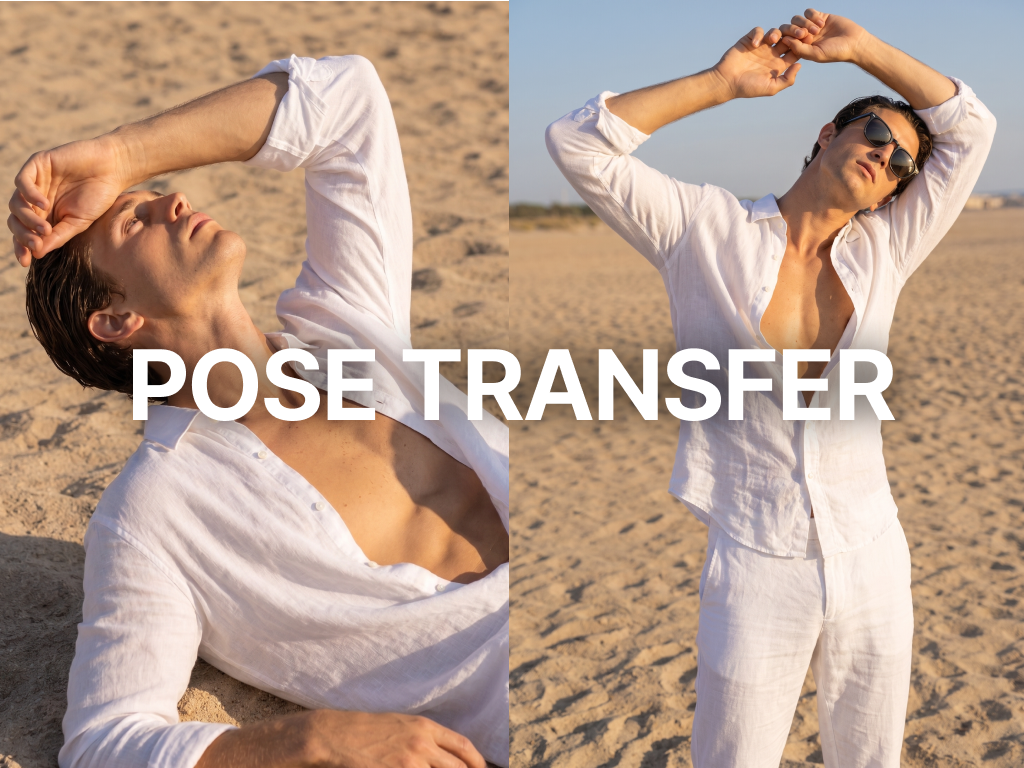
You can select several pose files at once, and up to 10 are uploaded in order. Apply a pose that presents the product well, whether it is a bag, shoes, top, or outerwear.
2. You can match the image mood you want with a mood reference.
Mood Reference lets you add an image to reference the mood you want.This image becomes the basis for the overall tone, style, shooting feel, and brand mood.
For example, if you have a desired direction such as a calm lookbook mood, a trendy street feel, or a luxurious campaign atmosphere, it’s best to add a mood reference.
You can communicate a mood that is difficult to describe in words through an image, making it easier to align the result with your intended direction.
3. You can add items to configure the products being worn.
Items area lets you add products or styling elements to apply to the model.
You can work by adding items you want reflected in the model cut, such as clothing, accessories, shoes, and bags.
By adding items, you can create an image that shows actual products rather than just a simple model image.
This is a necessary step when creating product-centered visuals such as worn product shots for detail pages, lookbook images, and social media content.
4. You can change hair, lighting, and emotional expression.
Model Character lets you adjust the model’s detailed mood.
On this screen, you can change the impression of the model cut by selecting elements such as hair, lighting settings, and emotional expression.
Even with the same outfit, the image mood changes depending on the hairstyle, expression, and lighting feel.
If you select the necessary options to match the model impression and shooting mood your brand wants, you can create more natural results.
5. You can create images after checking the prompt and generation settings.
In the input box at the bottom, you can write the scene you want or any additional requests.
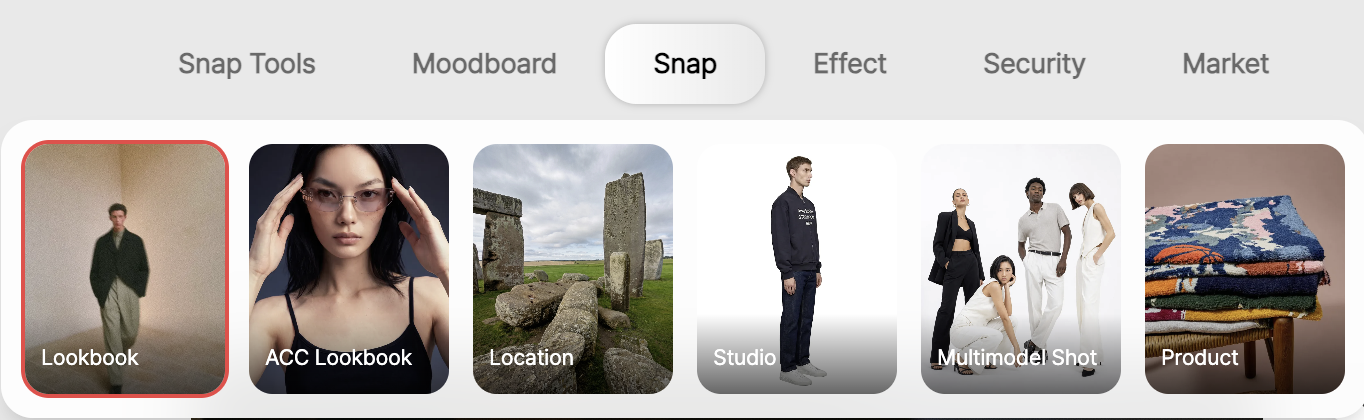
Studio Fast is selected by default in Lookbook. Set Angle, Direction, and framing in Camera & Shot, then choose a ratio from the Portrait or Landscape tab and set the image count. With multiple Directions selected, results and credits are calculated as selected Directions × image count. Generate also shows the in-progress and maximum concurrent job counts.
Rather than writing a very long prompt, it’s best to focus on the scene or mood that must be reflected in the model cut.
For example, you can write phrases like “calm indoor lookbook mood,” “upper-body composition that shows the product clearly,” or “natural campaign image.”
You can also set the shooting composition.
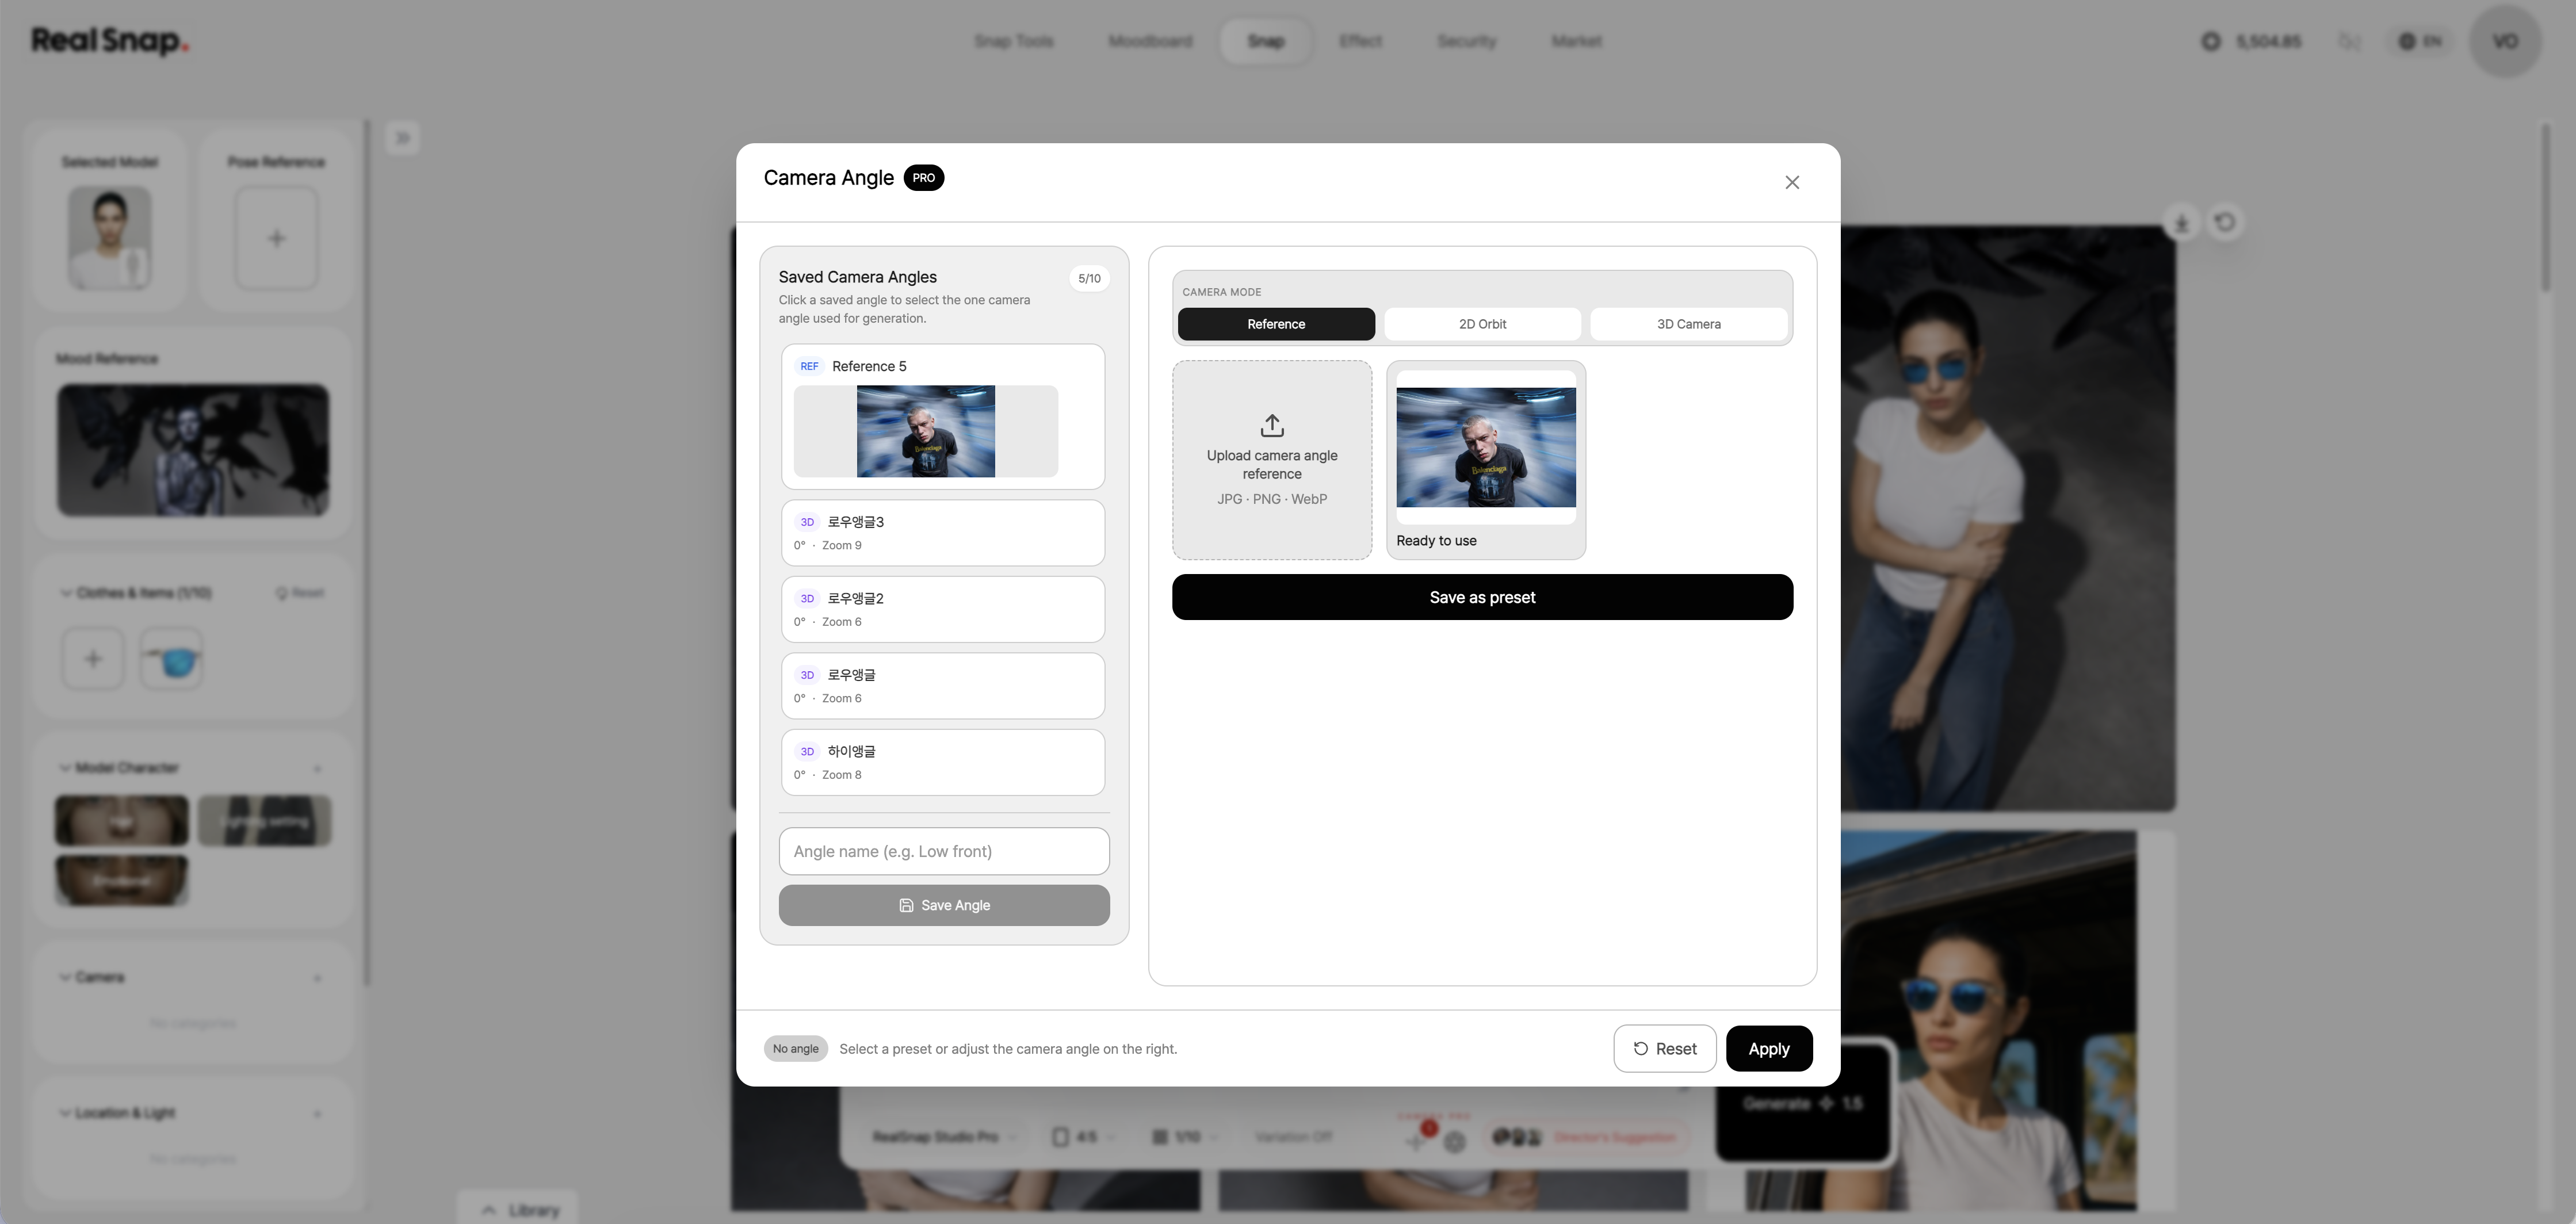
In the Snap workspace, before creating an image, you can set the camera angle in the prompt window at the bottom.You can choose from Reference, 2D Orbit, and 3D Camera to set the shooting viewpoint and sense of distance for the model cut.
If you have a reference image, use Reference to bring in the composition. If you want to quickly set a basic direction, you can use 2D Orbit.
When you need a more detailed shooting composition, adjust the camera position and viewpoint with 3D Camera.
You can save frequently used compositions and use them again in your next project. This is useful for detail pages or lookbook work where you need to show the same product category from the same angle.
6. Choose Free Correction and post-processing versions, then compare before and after.
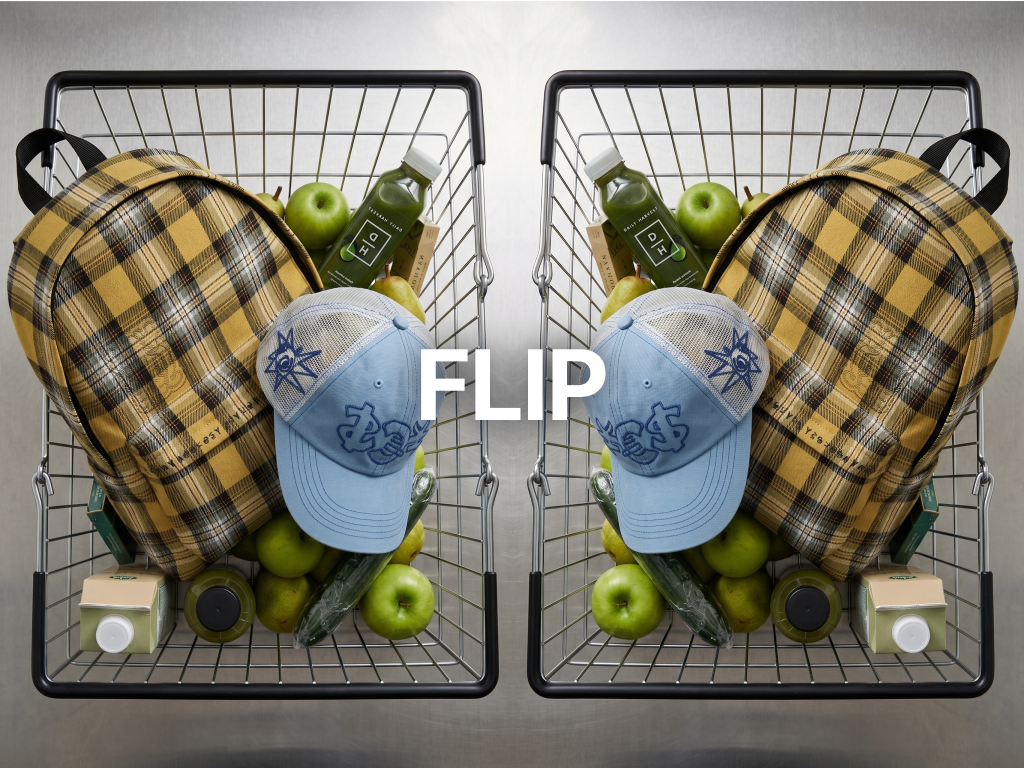
Open Free Correction below a result card and run one available tool: Skin Tone, Garment Color, Background, or Flip. Successful corrections and right-side post-processing results keep the original and appear as new versions in the history below the image.
Open the result to choose the original or any correction and post-processing version from the thumbnails, then compare the current version with the one immediately before it. You can return to any version and continue with another action.
7. You can reload the settings from previous results.
Open a result and use Generation Info on the right to review the AI model, creation date, and thumbnails for the settings actually used, including Model, Pose, Clothes, Mood Reference, Prompt, Angle, Direction, and Shot.
For a generated result that supports reuse, select Reuse these settings to load its inputs into the current Snap and continue a new version with the same conditions.
This feature is useful when you’ve already created a good result and want to make another version with only slight changes.
Because you don’t have to set the model mood, pose, worn items, and key settings again, you can continue creating lookbook images or product detail page images with the same concept more quickly.
How to use
Choose the Face for the shoot. Use the model card’s ⋯ menu to create or review its Face Datasheet.
If needed, select pose files together, upload up to 10, and apply the pose you want.
In Camera & Shot, choose one Angle and Shot, then select multiple shooting Directions when needed. 3D Adjust can set all three values together.
Set the desired image mood with Mood Reference.
Add clothing, accessories, or product images.
Adjust Model Character settings such as hair, lighting, and emotion.
Review the prompt and default Studio Fast model, choose a ratio from the Portrait or Landscape tab, set the image count, and select Generate. The in-progress/maximum indicator shows concurrent capacity.
Open Free Correction below a result card and run one available tool. A successful correction is saved as a new version while keeping the original.
Open the result to choose the original, correction, and post-processing versions from the history, then use the right-side tools, thumbnail-based Generation Info, and Reuse these settings.
💡 Things to note
If you plan to use the image for sales purposes, you should check whether the actual product’s color, shape, fit, and material texture are expressed naturally.
Especially when adding items or using clothing-related tools, it’s a good idea to review whether the result image differs too much from the original product.
Features that modify the face or pose may affect the model image and brand impression.
Before using the final image for detail pages, lookbooks, social media, or ad creatives, you should check the overall proportions and naturalness.
Conclusion
The Snap workspace is a place where, when creating AI model cuts, you can set the model, pose, mood, items, and model character in one place and adjust them with detailed tools.
Instead of generating images vaguely from scratch, adding the references you want and applying the necessary tools helps you create results that better match your purpose.
When creating images that need to show both the product and the model’s mood, such as lookbook images, worn product shots for detail pages, social media content, or campaign visuals, it’s a good idea to start your work from this screen.