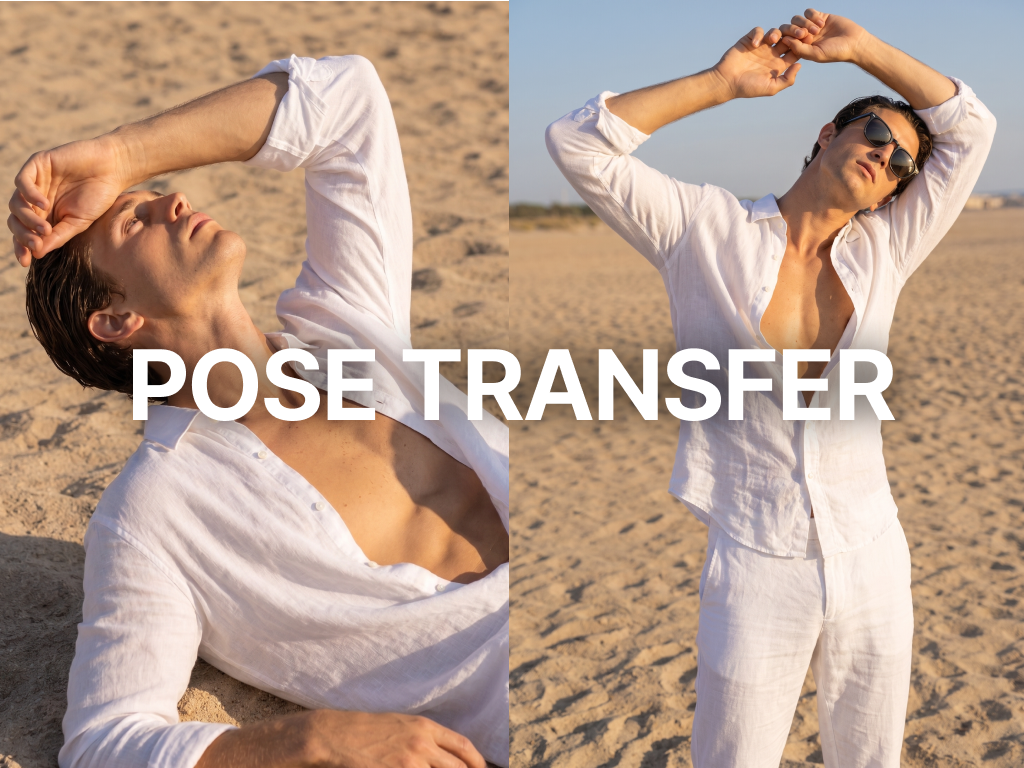
How to create AI model shots without a studio photoshoot
SNAP|Updated Sep 4, 2026
RealSnap Studio creates clean AI model shots from face, clothing, and item images.
Combine Pose Presets, My Poses, Uploaded Poses, and Mood or Background references, then set Angle, Direction, and framing in Camera & Shot. Free Correction and post-processing preserve the original as they save new versions.
1. Prepare the person with a Face
Start by choosing the Face to use for generation. Reusing the same Face makes it easier to keep the person consistent across results.
2. Set the composition with a Pose and Camera & Shot
In the Pose dialog, choose from Pose Presets, My Poses, or Uploaded Poses.
Use Camera & Shot on the left to choose one Angle and Shot, then select multiple Directions when needed.
3. Set the shooting atmosphere with a Mood or Background reference
Use a Mood Reference to communicate the desired composition and lighting. You can also generate from a Mood or Background reference instead of selecting a Pose.
In the Background tab, choose the white preset or a saved background, or create one from colors, gradients, vignettes, and uploaded images.
4. Add the clothes and items for the shoot
Add images for the model to wear or use in the scene under Clothes & Items. At least one clothing or item image is required to generate.
Use images that clearly show product color, material, logos, and details so the result is easier to review.
5. Review the generation model, aspect ratio, and image count
Studio Max is selected by default in Studio. Switch to Studio Pro or Studio Fast when you need a different result profile.
Choose a ratio from the Portrait or Landscape tab. Ratios unsupported by the selected model are disabled, and switching models moves to the nearest supported ratio in the same orientation. With multiple Directions selected in Camera & Shot, results and credits are calculated as selected Directions × image count. Generate also shows the in-progress and maximum concurrent job counts.
6. Finish with Free Correction and post-processing versions
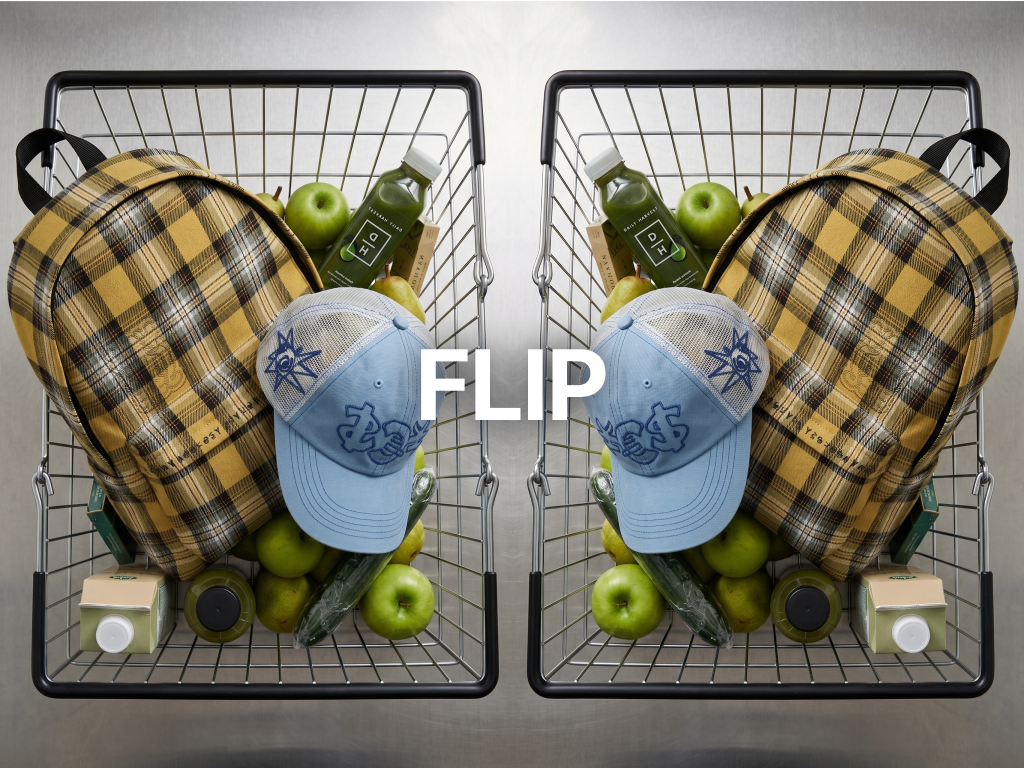
Open Free Correction below a completed result card and run one available tool: Skin Tone, Garment Color, Background, or Flip. A successful correction is saved as a new version without replacing the original. Progress resumes if you leave during correction, and opening the completed result shows the pre-correction original.
Open a result and apply right-side tools such as Shadow Synthesis and Mood Background Match to keep each new version in the history below the image. Choose the original or any correction and post-processing version, then compare it with the one before it. Generation Info on the right shows thumbnails for the settings actually used, including Model, Pose, Clothes, Mood Reference, Angle, Direction, and Shot. Supported results can load them with Reuse these settings.
How to use
Open Studio mode in the Workshop.
Choose the Face to use for generation.
Choose a Pose Preset, My Pose, or Uploaded Pose, or prepare a Mood or Background reference.
In Camera & Shot, choose one Angle and Shot, then select multiple shooting Directions when needed. 3D Adjust can set all three values together.
Choose a preset or saved background from the Background tab in Mood Reference.
Add at least one clothing or item image for the shoot.
Choose Studio Max or another model, then review the Portrait or Landscape ratio and image count before generating. The in-progress/maximum indicator shows concurrent capacity.
Open Free Correction below a result card and run one available tool. A successful correction is saved as a new version while keeping the original.
Open the result to choose the original, correction, and post-processing versions from the history, then use the right-side tools, thumbnail-based Generation Info, and Reuse these settings.
💡 Things to keep in mind
For sales images, zoom in and confirm that product color, fit, material, logos, and details match the original naturally.
Studio Shadow works best on full-body images where the feet and floor are visible. Mood Backdrop Match is most reliable on solid-color backgrounds, and the post-processing history lets you choose which version to compare.
Conclusion
RealSnap Studio lets you combine a Face, Pose, Background, Clothes, and Items to create varied model shots without a separate studio photoshoot.
Choose the required directions and aspect ratio first, review product details, then use Free Correction and post-processing version history that preserve the original to prepare more consistent product-page and lookbook images.