Can I change the lighting direction in a photo after shooting?
SNAP|Updated Jul 30, 2026
RealSnap Lighting lets you adjust the position and direction of the light in a photo in 3D.
You can compare the original and the result as you set the lighting direction you want, and make model shots, lookbooks, and social media images feel more natural.
When the photo is good, but the lighting direction feels off
In fashion images, even if the model, outfit, and background all look good, awkward lighting can make the image feel less polished.Sometimes the light comes in too directly from the front, the face and clothing lack depth, or the shadow direction does not match the brand mood.
In these cases, you may want to adjust only the lighting direction without recreating the image or reshooting it. RealSnap Lighting helps you control the position and direction of the light in the photo in 3D, so you can reset the mood the way you want.
1. Adjust the direction of incoming light with 3D lighting
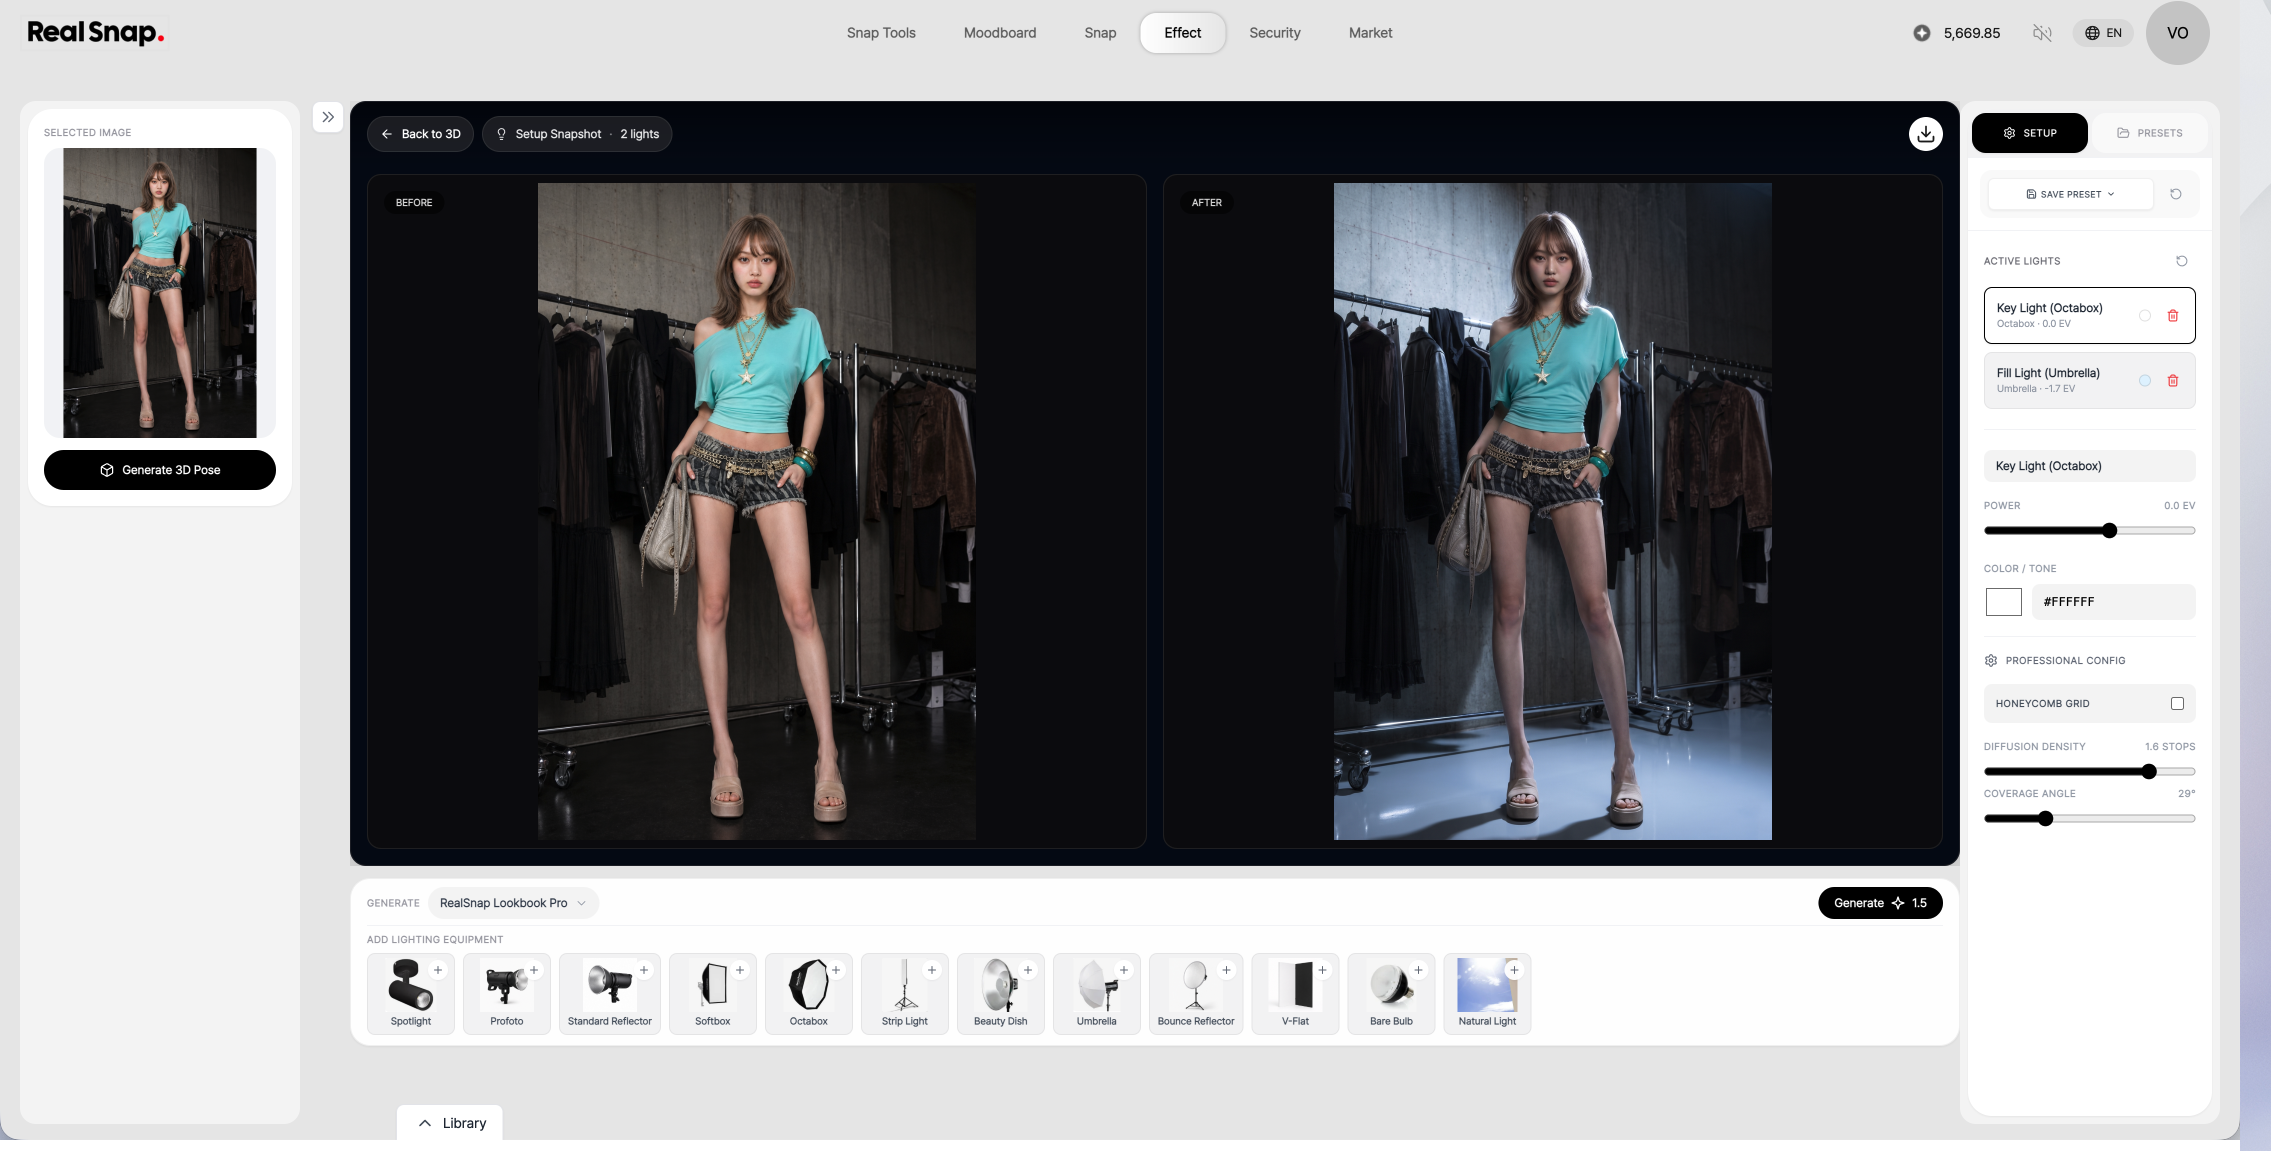
With the Lighting feature, you can move the position and direction of the light in the photo in 3D.When you adjust the light to come from the top, side, or front, the mood created on the face, clothing, and background changes.
For example, front lighting works well for clean product detail page images, while side lighting is great for creating a more dimensional editorial look. Lighting from above can add a more dramatic mood.
2. Choose the mood you want while comparing the original and the result
Even small changes in lighting can greatly change the mood of an image.In RealSnap, you can compare the original and the result side by side to see which lighting direction looks more natural.
While viewing the comparison screen, check whether the face has become too dark, whether the clothing details are clearly visible, and whether the background and shadows look natural. Once you find a lighting direction you like, press Create to generate the result image.
How to use
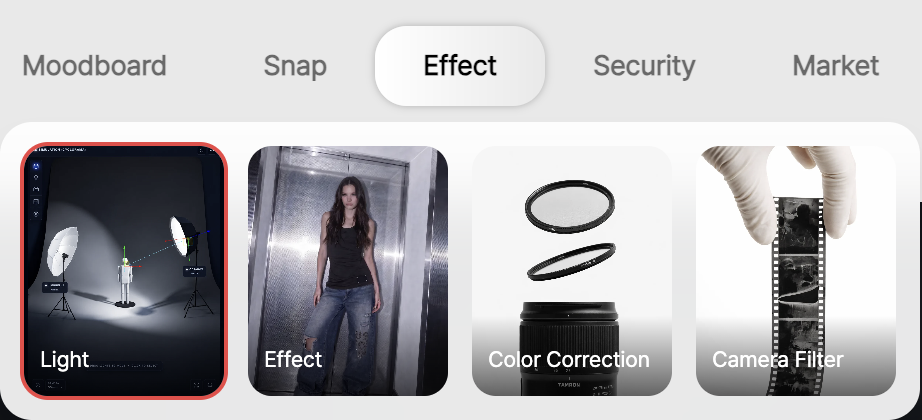
Open the Lighting feature.
Select the image you want to work on.
Use the 3D lighting controls to adjust the light’s position and direction.
Compare the original and the result, then choose the lighting you want.
Press Create to generate an image with the lighting applied.
Things to note
If you plan to use the image for sales, make sure the lighting does not make the actual product color or material texture look different.For products where texture is important, such as white, black, glossy materials, knitwear, or leather, it is especially helpful to review the result by comparing it with the original after applying lighting.
If the lighting is applied too strongly, facial shadows, clothing wrinkles, and background tones may change too much. Before using the result image on product detail pages, in lookbooks, or for ad creatives, check that it looks natural.
Conclusion
RealSnap Lighting is a useful feature for fashion images when only the light direction or mood feels off.
Without recreating a model shot or lookbook image you already like, you can adjust only the lighting direction to refine it into a more natural and stylish image.
If you want to make product detail page images cleaner, or add depth and mood to lookbook images, try adjusting the direction of the light with the Lighting feature first.